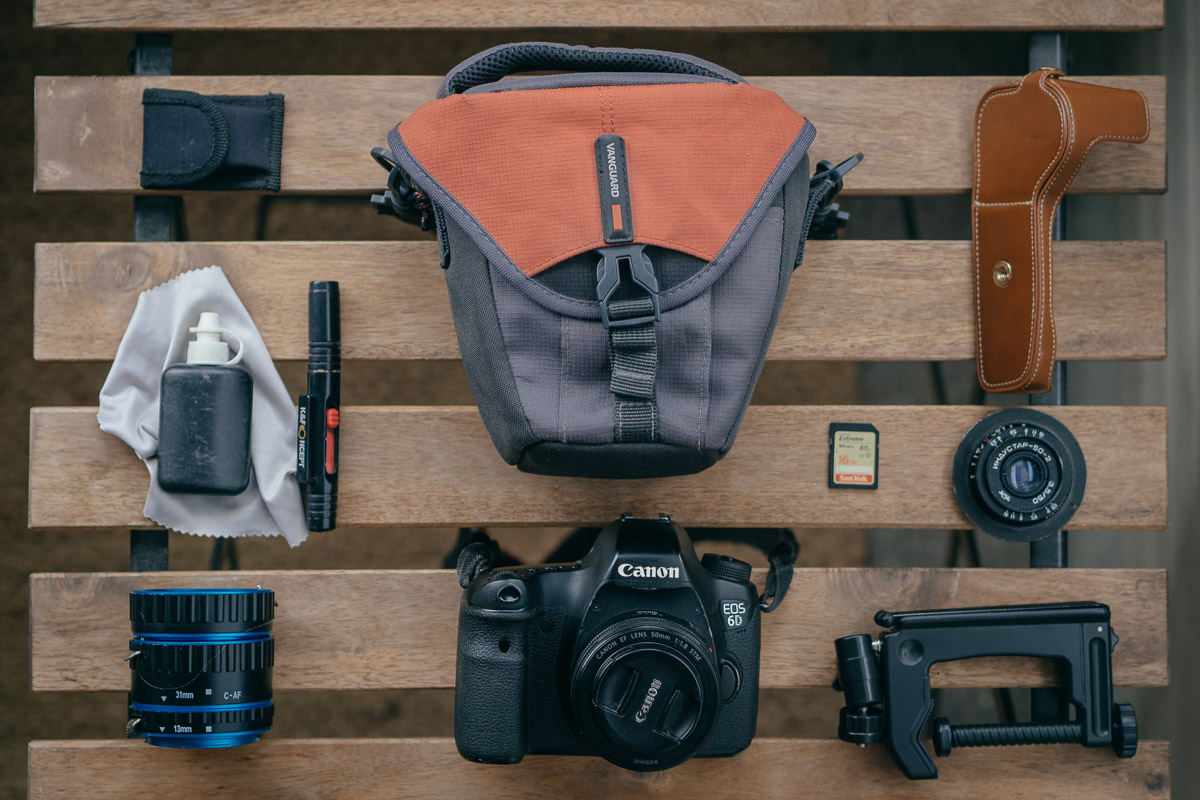
Inexpensive, small photo accessories can contribute to your travel photography far beyond their price. In this post, I have gathered 10 items that I carry in my bag. All the accessories are small, and therefore, suitable for travel photography.
This post has affiliate links under every item. Buying from those doesn’t cost you extra, but leaves me a small commission. This helps me developing Engineer On Tour further.
Most of the things I list here have more expensive, professional analogs. They do worth the money if you use them regularly, but for occasional use or for testing, I would recommend starting with these simple photo accessories.
1. Clamp mount tripod
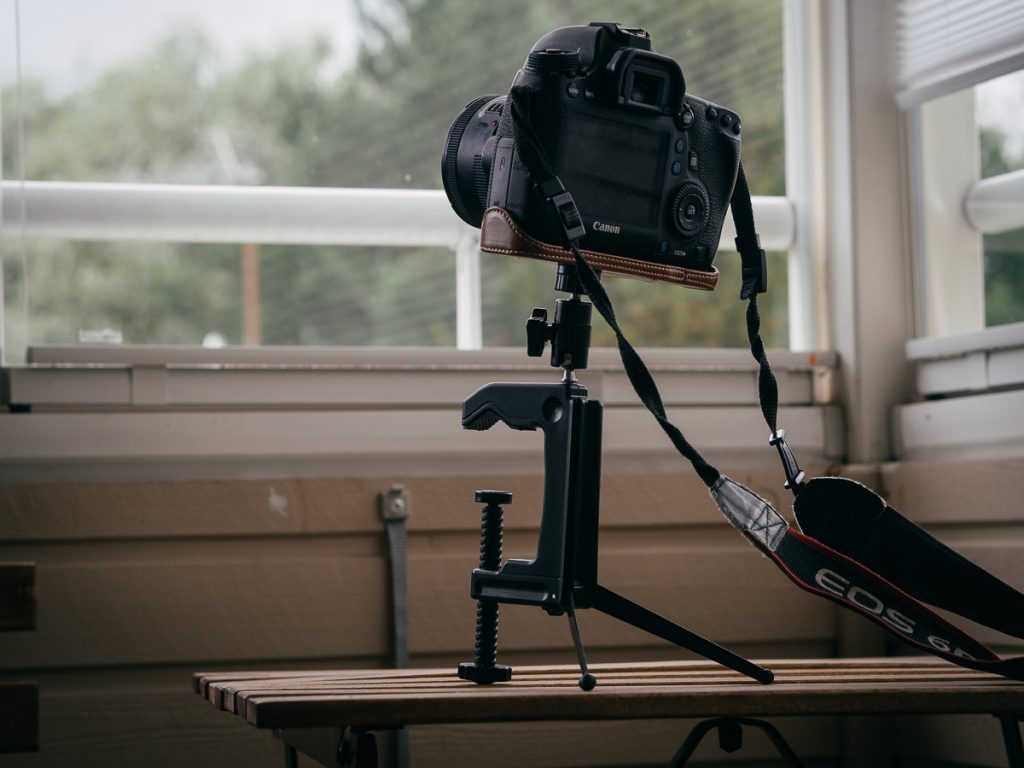
This could easily be the most useful item from the list! It is smaller than a popular “octopus” tripod and can hold more weight. It keeps steady a full-frame DSLR with a 70-200 zoom lens. The weight is around 2.5 kg.
IMPORTANT NOTE: Tripod is very lightweight and with almost any camera, the center of the mass will be on top. Keep your hands on the camera or wrap the camera strap around your wrist! If you put a large weight on this tripod, think of it more of a monopod.
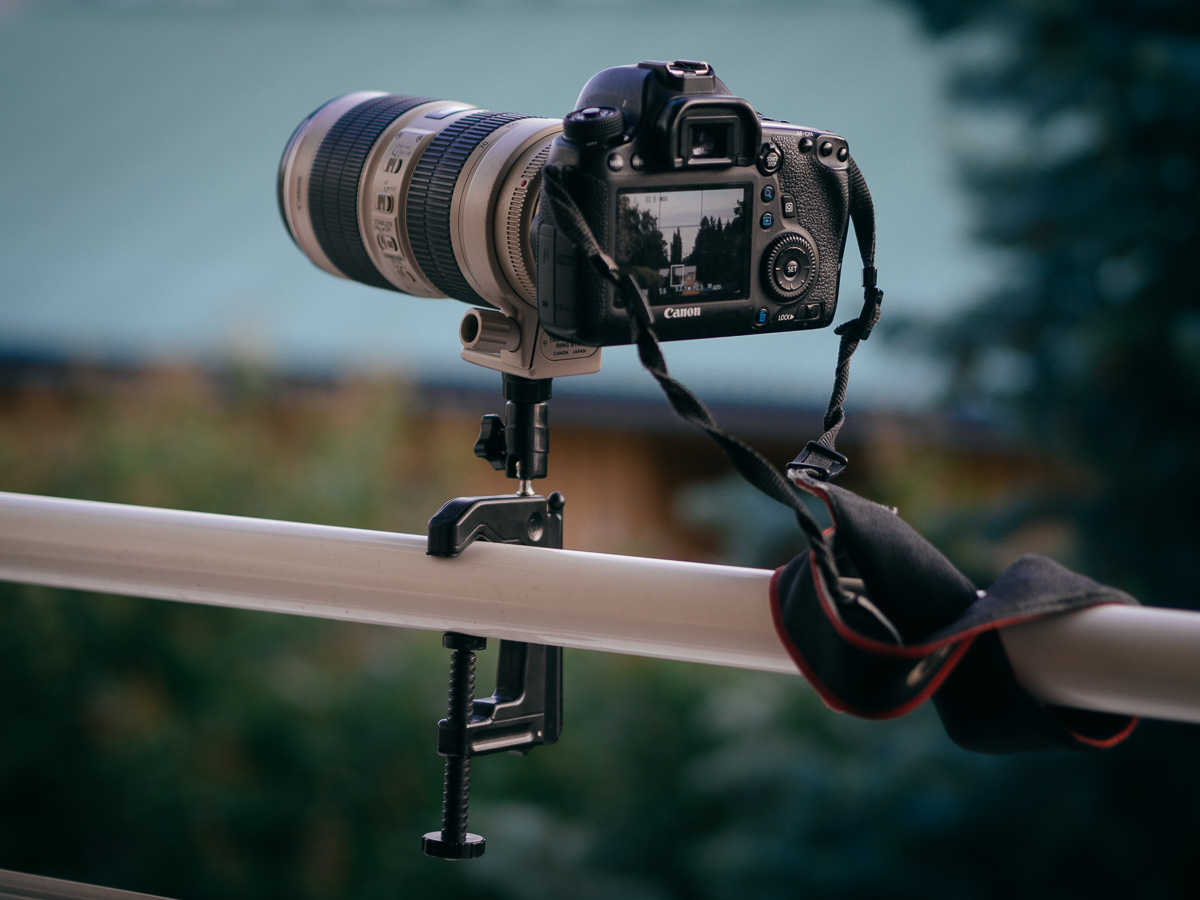
You can attach the tripod to a handrail or to an edge of a table. You can expand the “legs” and put it onto a surface.
I have even attached it to my bicycle.
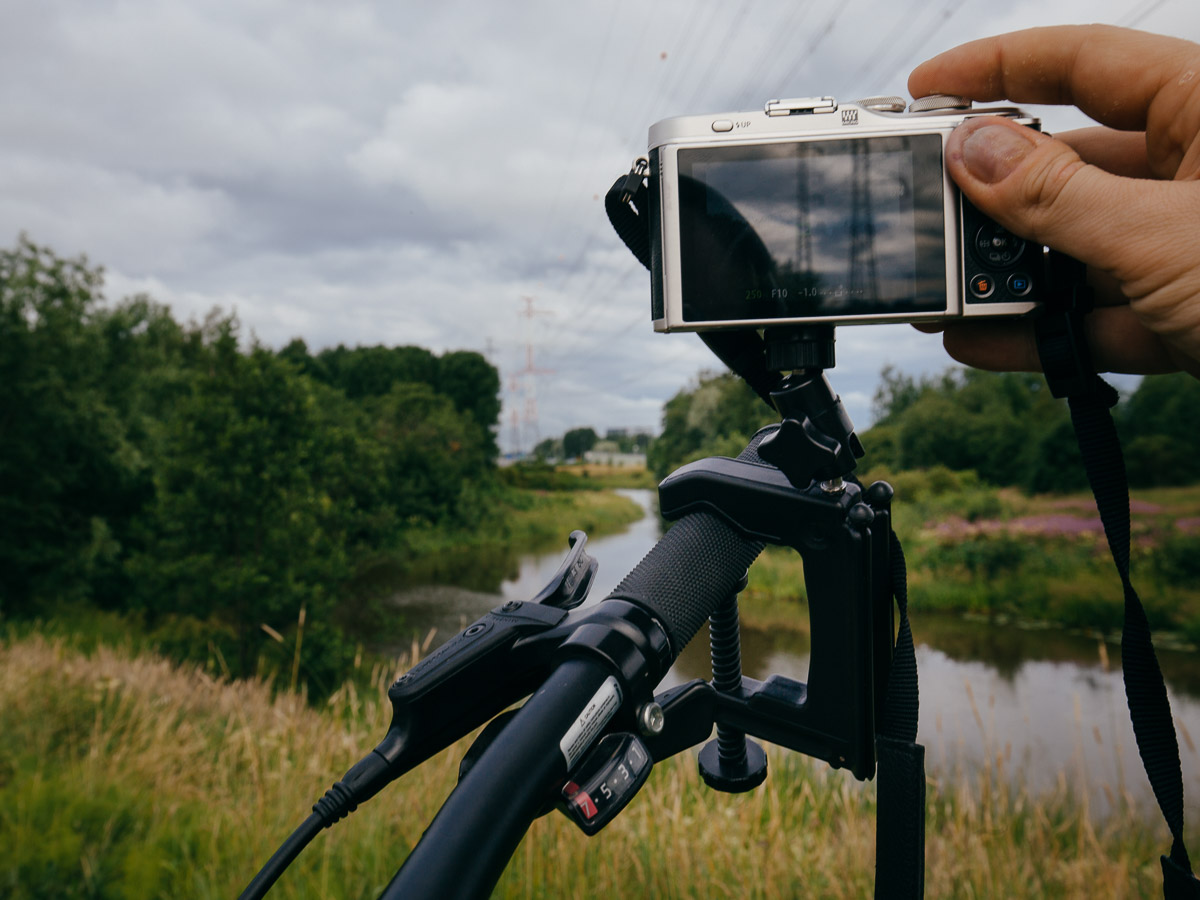
Tips:
- With large weight, I don’t recommend setting other than vertical. For instance, don’t clamp it to a pole. It doesn’t seem to be designed to hold weight this way.
- I think “octopus” tripod allows attaching it differently, for instance, hanging from a rail upside-down. But it holds less weight, is slower to set up and cannot be attached to a handrail as steady as a clamp tripod.
You can get a classic “octopus” tripod under 10 Eur as well:
OCTOPUS TRIPOD ON EBAY
2. Leather case
A leather case for a camera is more than you think. Do you photograph in cities? I think every travel photographer is a bit of a street photographer, and it means that you have to interact with people.
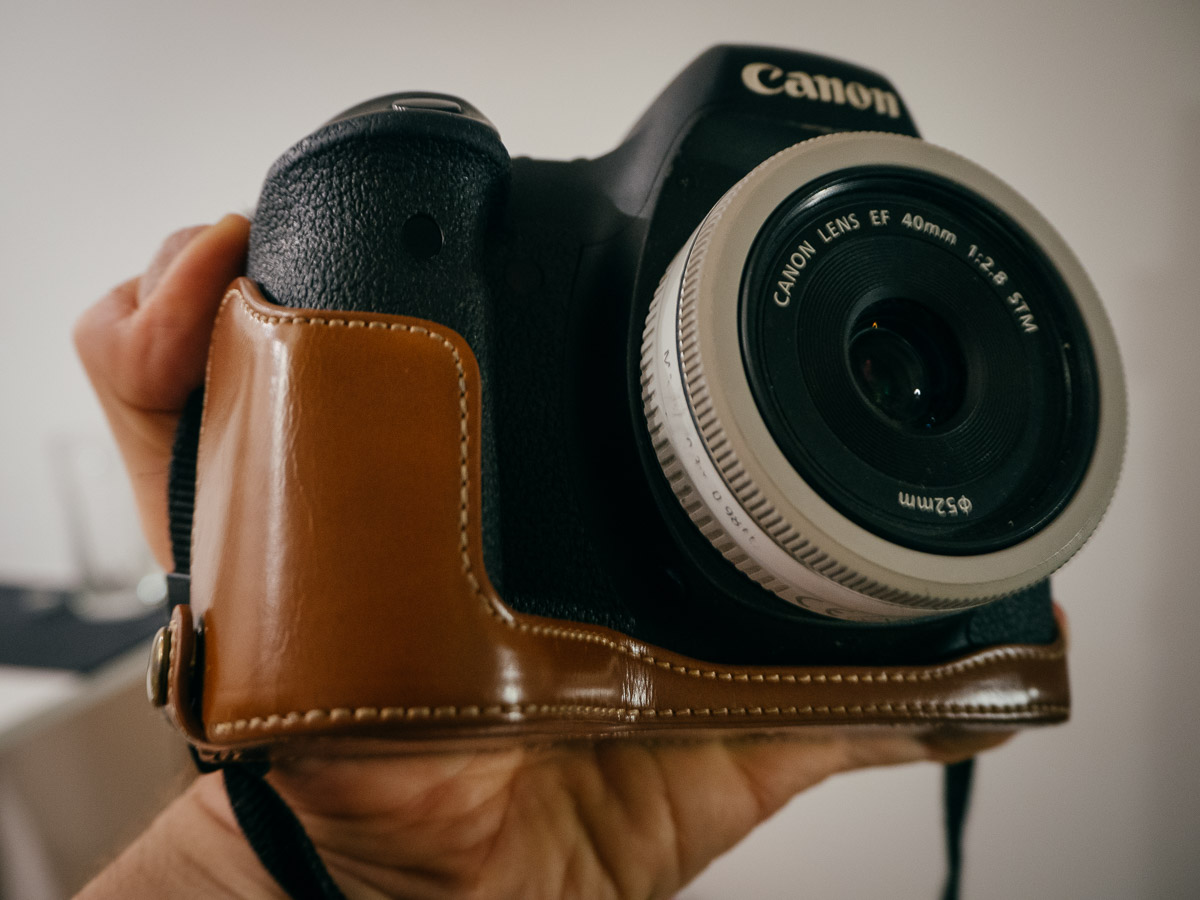
If you have a large, bulky DSLR, I think, people see you as a reporter. If you have a classic-looking camera – they see you more as an artist. I have put a brown leather case onto my Canon 6D, and I sometimes get “nice camera” comment, instead “why are you taking the picture?”.
Add the camera model in the search field (after keywords): LEATHER CASE ON EBAY
Tips:
- Put the case on and check the ergonomics. It shouldn’t change much, maybe it even will make the grip better. For me though, it was slightly less comfortable using the case when heavy lenses are on.
- I recommend a half-case because a full case prevents you from accessing your camera fast. (for my Fuji Instax though, I have an overall case, because here access speed matters less)
- A leather case creates an extra layer of protection, which is always a good addition
3. Remote shutter release
If you shoot on a tripod, you should use the remote control function to avoid camera shake when you press the shutter. If you take a group picture – you can be in the frame and take multiple shots at once (instead of running there and back with 10 seconds timer). I think remote control is simply the must.
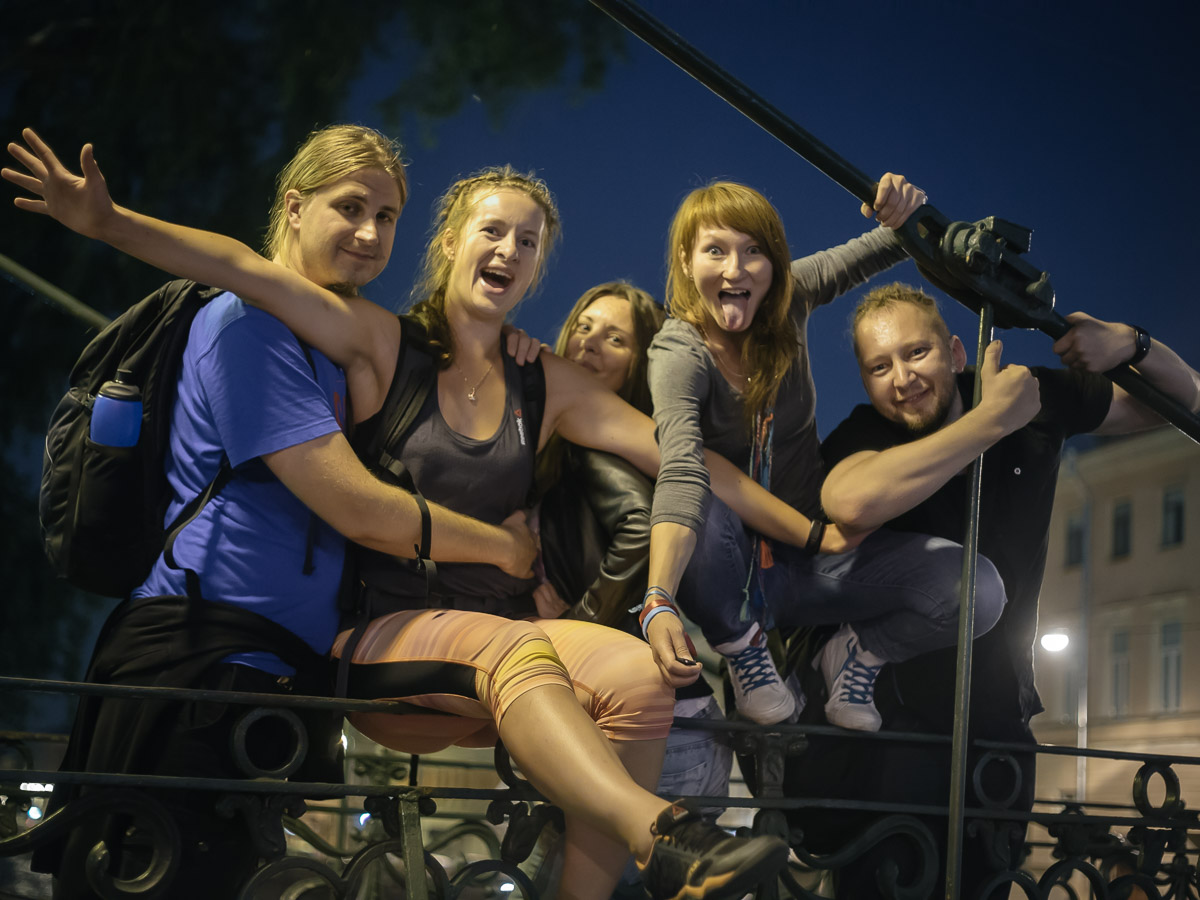
Yes, I know that most of the modern cameras can be activated from a phone, but a dedicated piece of gear works a bit faster. It is also useful for long trips outdoors when you don’t have an opportunity to charge your phone. I got mine for 1 Eur.
Add the camera model in the search field (after keywords)
Canon: CANON WIRELESS SHUTTER RELEASE ON EBAY
Nikon: NIKON WIRELESS SHUTTER RELEASE ON EBAY
Sony: SONY WIRELESS SHUTTER RELEASE ON EBAY
I didn’t find inexpensive models for Fuji and Micro 4/3
4. Bag foam insert
Make your favorite bag safe for camera and lenses.
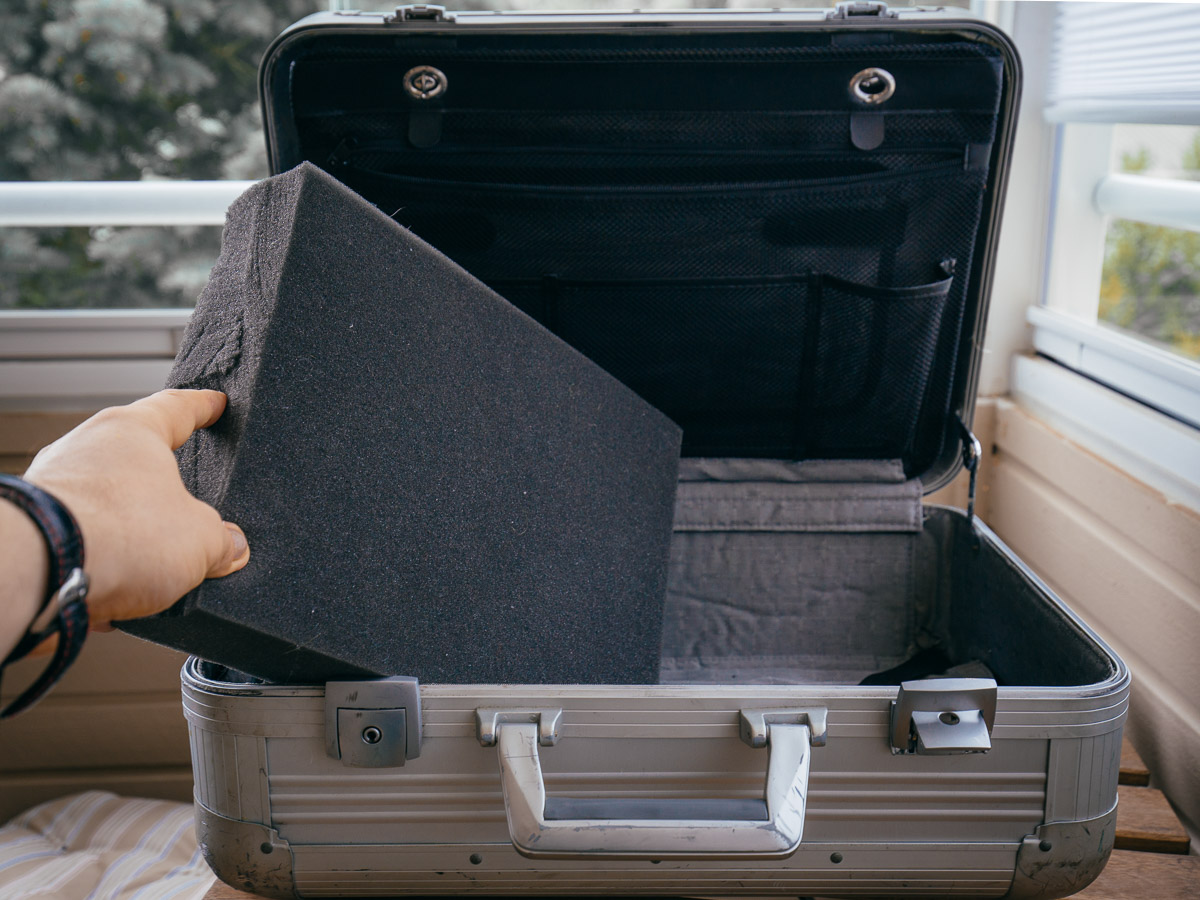
I have my favorite, cabin-size, carry-on bag. But I only use a third of it for camera equipment. I have cut the foam to the proper size and used the left-overs to add one more layer to my 70-200 lens bag.
Alternatively, you can add a padded partition insert into your bag, but foam protects better:
PADDED INSERT FOR CAMERA ON EBAY
5. Macro tubes
Macro tubes change your lens’s minimal focus distance. When they are on, you can focus much closer, but you cannot focus on infinity or remote objects. Some of the tubes maintain the electrical connection and therefore support the autofocus and EXIF transfer.
(they are also called macro rings or extension tubes)
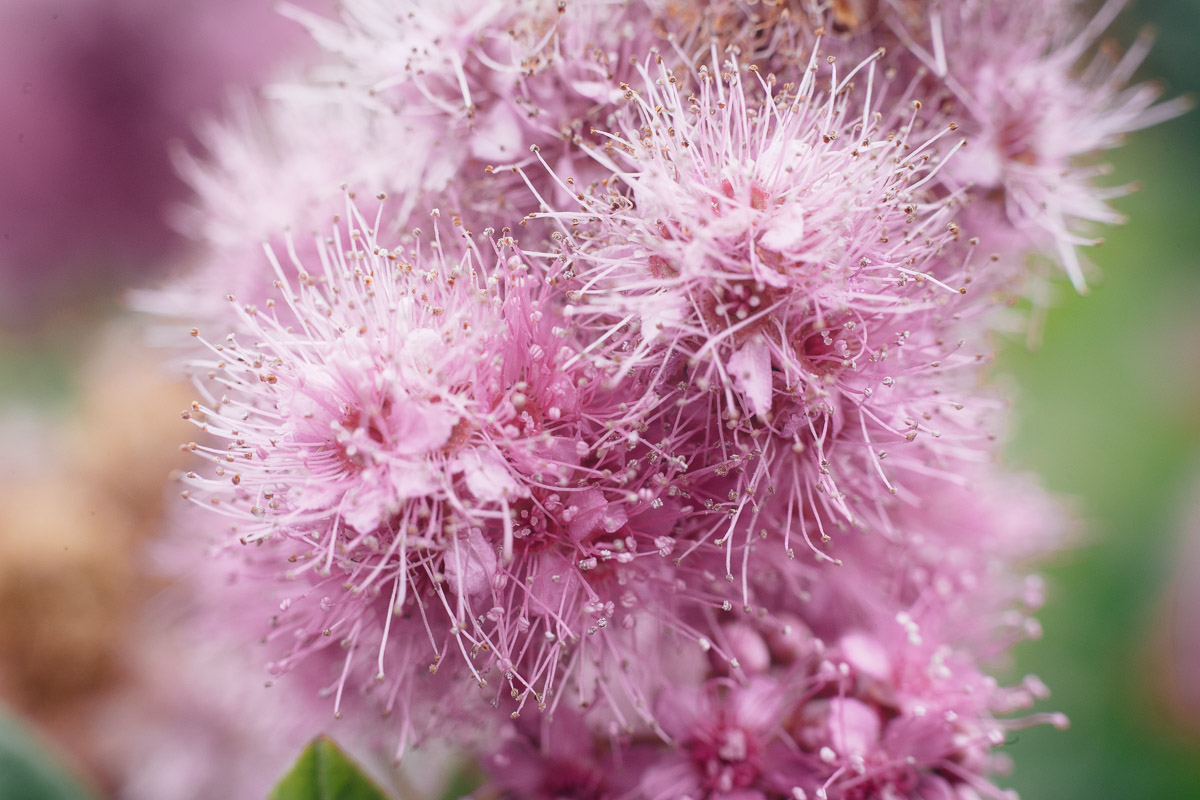
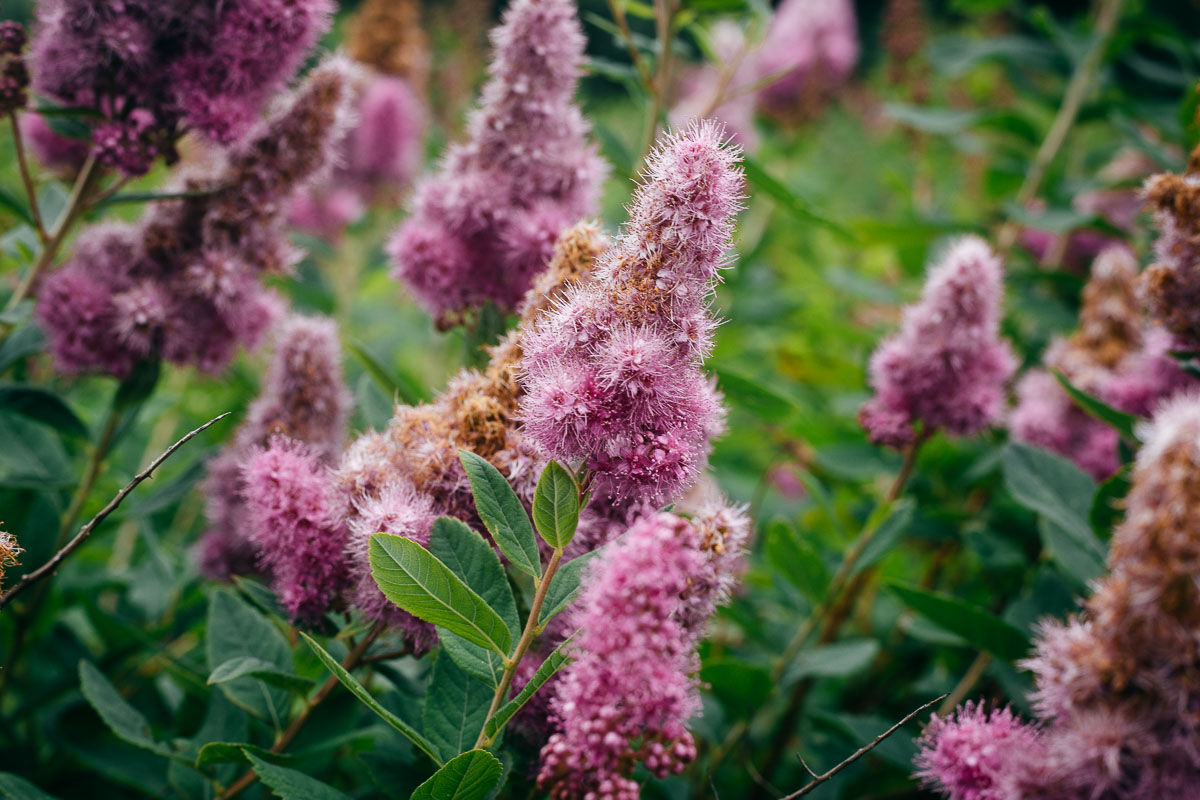
If you take macro photography seriously – get a specialized macro lens. If you are like me, who shoots occasionally – macro rings is the way to go. They are cheap and don’t take much space in your bag.
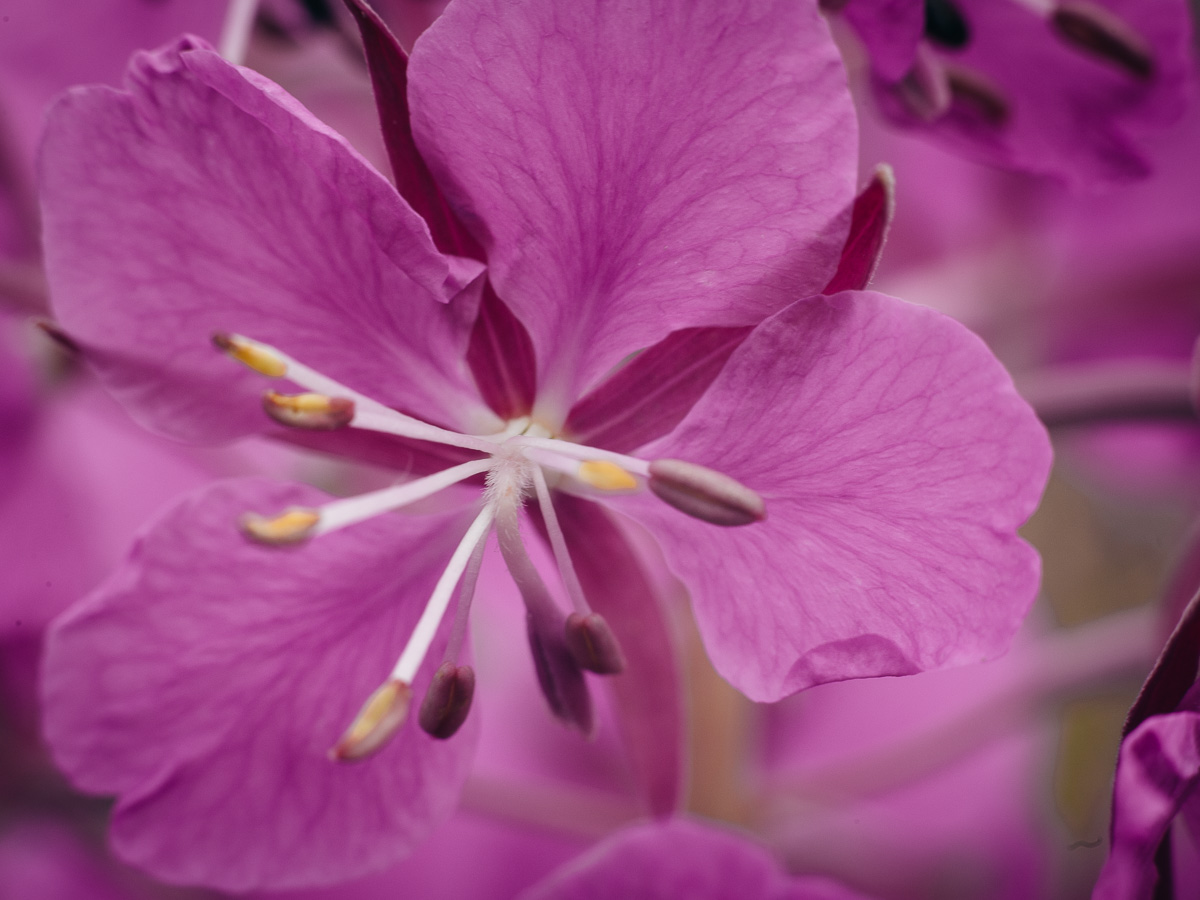
When buying keep in mind, there are manual focus only and autofocus versions:
Canon: MACRO EXTENSION FOR CANON EOS ON EBAY
Nikon: MACRO EXTENSION FOR NIKON F ON EBAY
Sony: MACRO EXTENSION FOR SONY E ON EBAY
Fuji: MACRO EXTENSION FOR FUJI X ON EBAY
Micro 4/3: MACRO EXTENSION FOR MICRO 4/3 ON EBAY
Tips:
- The close focus would mean a very narrow depth of field. You may need setting your aperture higher.
- If you are not on a tripod, you may need setting a higher shutter speed than usual.
6. Cheap SD card
A cheap SD card. Buy it, put it into your wallet and forget about it! As soon as you find yourself out of memory, your card would be there. It may be not the fastest and not a large capacity card, but it can save you.
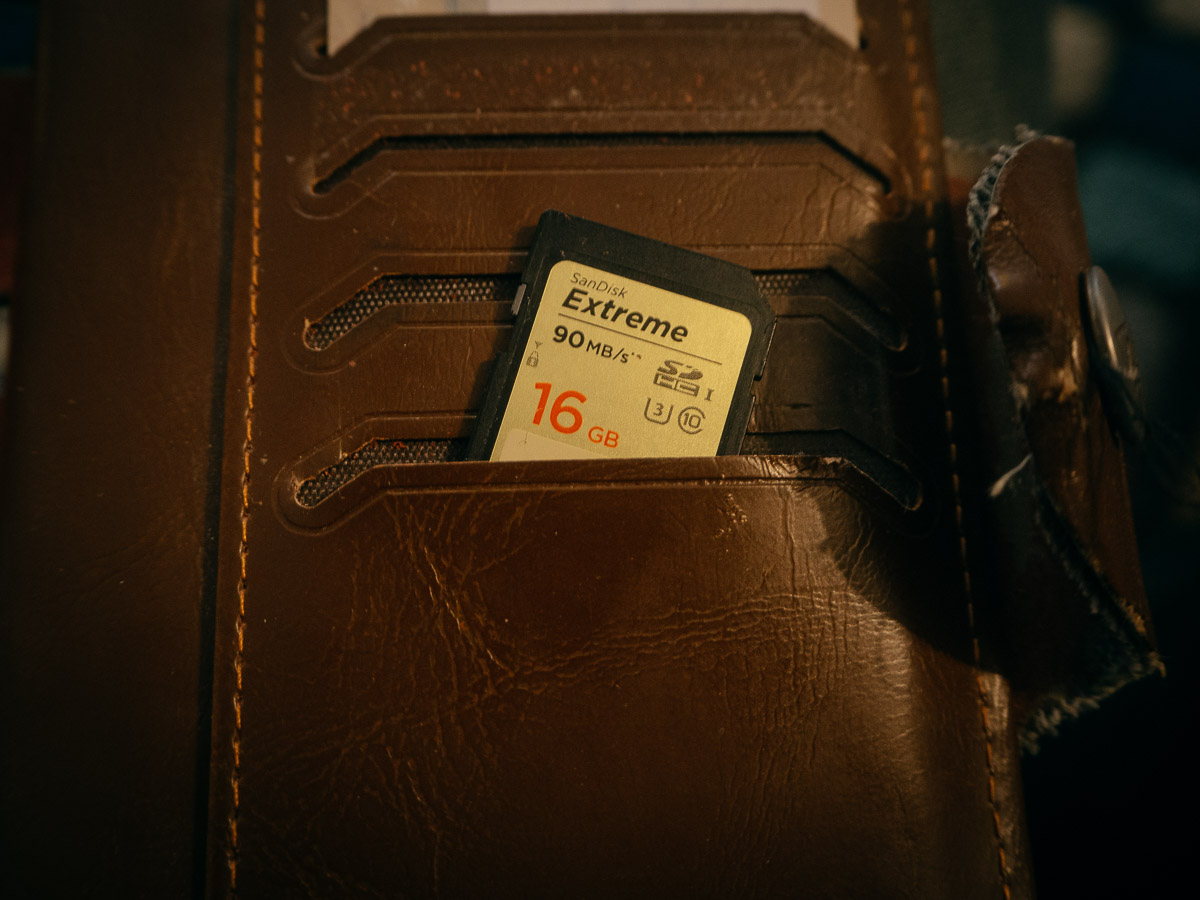
How easy is it to forget an SD card in your laptop? Of course, you double-check everything before a commercial shoot. But what about vacation photos?
We went to a nightclub. I didn’t plan to photograph much, so only took a camera with a small prime lens. When my friends asked to make a group picture, I realized that there is no card in the camera…
(happily, there was one in my wallet)
7. Cleaning kit
It is important to keep your lenses and camera clean, but also, it is important to do it right. You can find a lens cleaning tutorial here. But also remember, different lenses may have different coatings, so read the instruction first.
In my opinion, the most common mistake is when you have sand on your lens, and you try to remove it with a piece of cloth. There is always a risk of scratching the lens coating. Use a blower, and if it doesn’t go away pass the öemsto a professional.
Also, if you don’t know what you are doing – don’t touch the camera sensor.
Normally, a basic cleaning kit has the following:
- Microfiber cloth
- Cleaner bottle
- Lens cleaning pen
- Lens brush
- Air Blower
8. Filter converter
Do you use lens filters? If not, you can skip this
These converters allow putting a filter of a larger diameter onto a smaller one. Imagine you need to use a popular 50mm f1.8 lens wide-open on a sunny day. You require an ND filter to reduce the amount of light. But would you buy this filter?
I personally have a few filters of diameter 77mm, they fit onto both of my zoom lenses: telephoto and wide-angle. I have a 50mm and 40mm prime lenses, which have 49 and 52mm filter threads. Good quality filters are rather expensive, and I would never buy them for every diameter.
First of all, you can get all the filters at once, for most common diameters:
49-52-55-58-62-67-72-77-82 (mm)
STEP UP FILTERS SET ON EBAY
But this would mean, you need to use several filters to go from diameter 77 to 52. I personally have a filter 77 to 52, but these have to be bought individually, not in a set.
If you want to buy those, just enter the values of diameters in the search field (after keywords)
STEP UP FILTERS ON EBAY
9. Small camera shoulder bag
What advantage does a cell phone have over a camera (besides size)? I think the main one is the ease of access, your phone is always with you. When you notice something unusual happening, you can shoot within a few seconds.
I think, most DSLRs and modern mirrorless cameras start at least as fast as a phone. The problem is – they are kinda bulky, so we tend to carry them in camera bags or backpacks. Phones are almost always in our pockets.
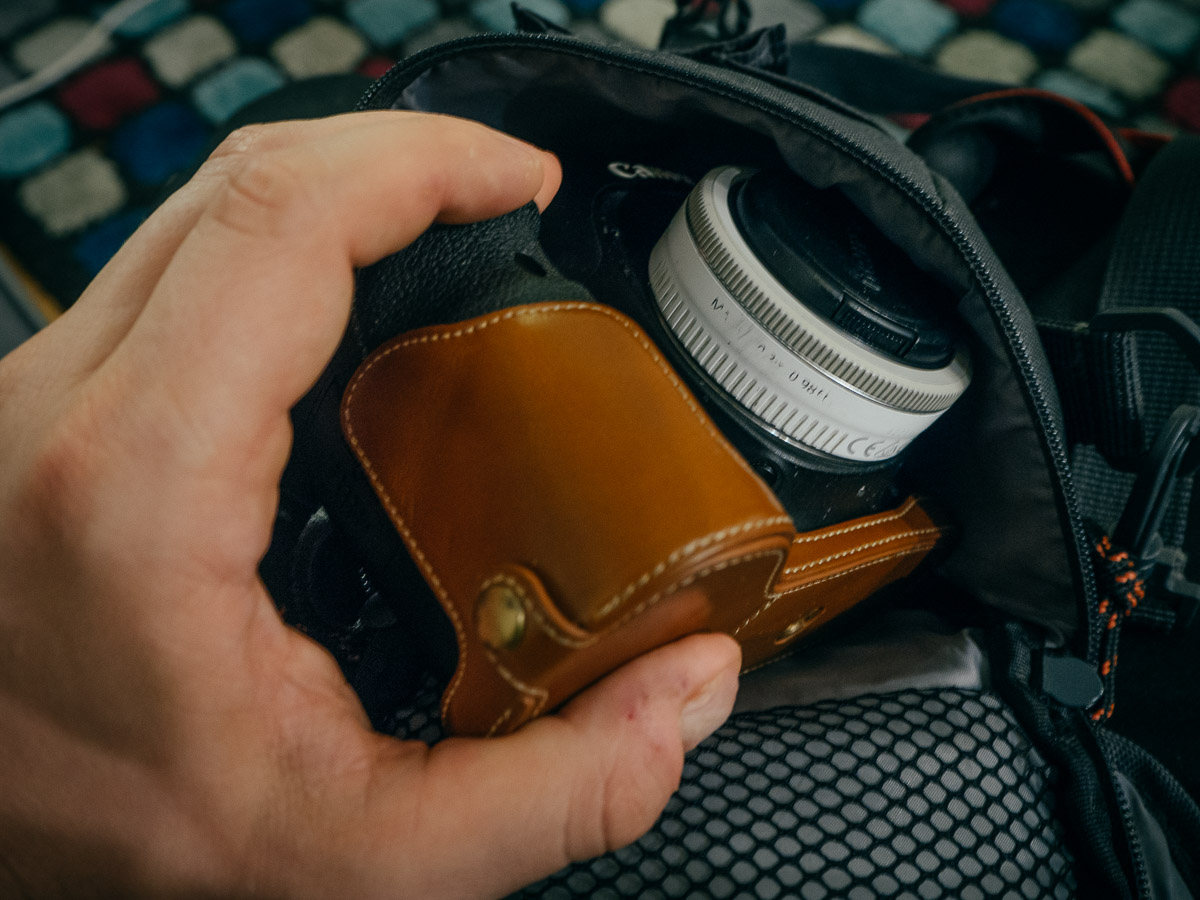
I was for a long time thinking that I should get a compact camera. But even after I got it, I realized that sometimes I don’t want to sacrifice the image quality. I ended up getting a small, easy-to-access bag for a camera. It only fits my full-frame DSLR with 50mm and 40mm lenses, but my camera is always close.
Before buying, remember to compare camera dimensions (can be easily googled or checked here) to bag dimensions, take the smallest bag you need.
My link will bring you to inexpensive options. If you want to know more about camera bags for different applications – check this camera bags guide by a fellow travel blogger.
10. Vintage lens: Industar 50-2
In short: this is the easiest way of getting vintage-looking images on modern digital cameras. The lens is tiny, cheap and, with all that, has a sufficient image quality. It can be adapted to most interchangeable lens cameras.
If you need more information – I made the whole post about Industar 50-2.
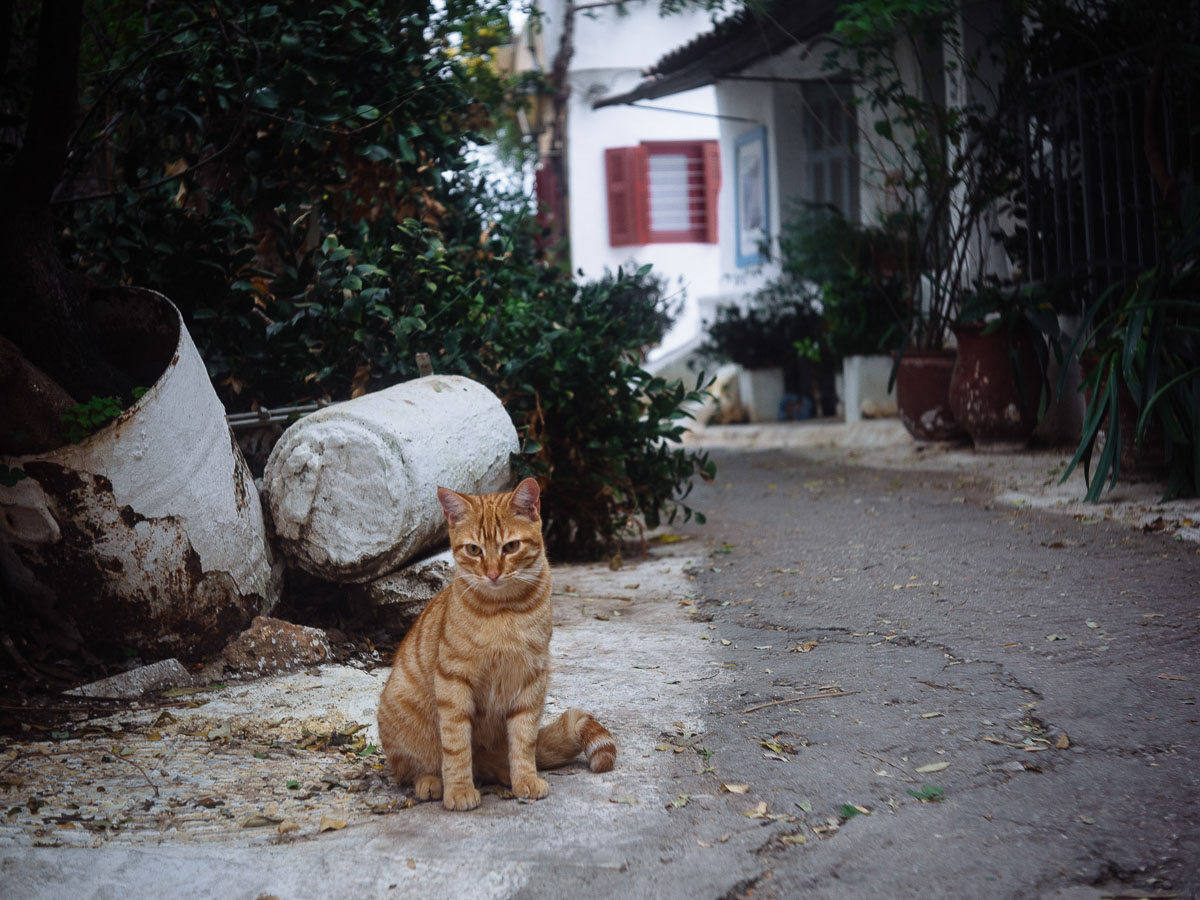
I got mine for 8 Euros in Russia. On eBay, it is priced around 9-15, plus delivery.
If you want to use it on a modern camera, you need an adapter from the M42 lens mount to your camera mount. It cost almost nothing, I got mine for 1 Euro on eBay.
INDUSTAR 50-2 M42 ON EBAY (Except Nikon)
The lens has to be slightly modified to be used on Nikon cameras (otherwise it will not focus on infinity). Nikon variant is slightly more expensive.
INDUSTAR 50-2 NIKON INFINITY FOCUS ON EBAY
Adapters:
There is no communication between the camera and the lens, so you can get the cheapest adapter, without a chip.
CANON EF: M42 TO CANON EF ADAPTER ON EBAY
NIKON F: M42 TO NIKON F ADAPTER ON EBAY
SONY E: M42 TO SONY E MOUNT ADAPTER ON EBAY
Fuji X mount: M42 TO FUJI X MOUNT ADAPTER ON EBAY
Micro 4/3 mount: M42 TO MICRO 4/3 ADAPTER ON EBAY
Please consider following or sharing
I love working on Engineer on tour, but it is a time-consuming thing to make. I would like to ask for your support, shares or follows would allow me to make the content better. Follow me on social media:
FACEBOOK/TWITTER/INSTAGRAM/PINTERST

